Showing posts with label OXO. Show all posts

Wednesday, December 4, 2013

What happened on Thanksgiving.

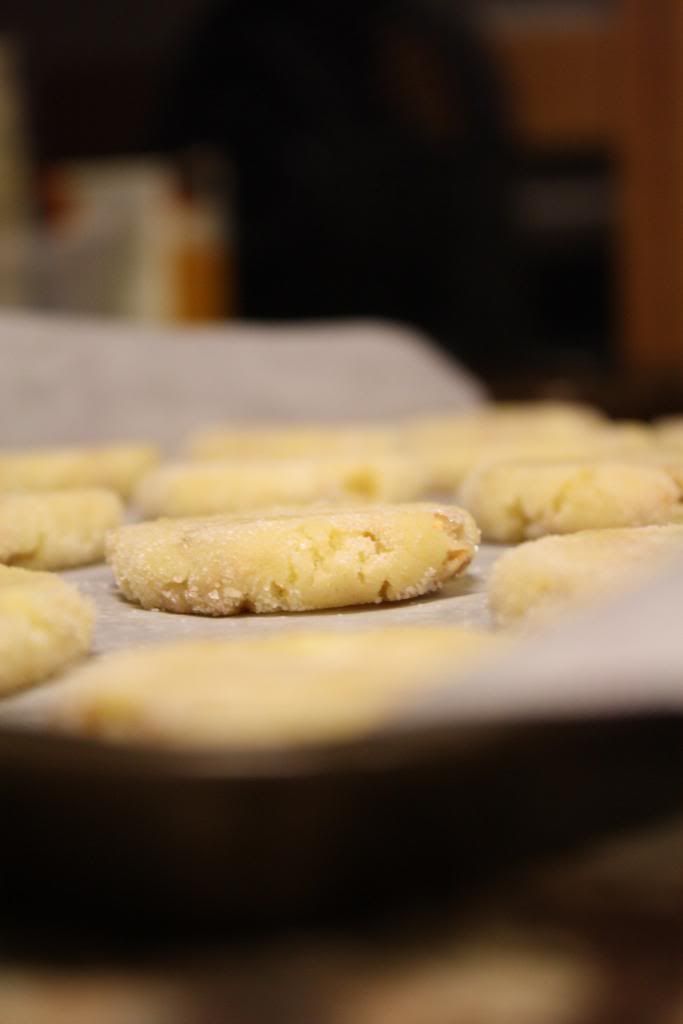
So I was all prepared to write a cutesy, heartwarming post about Thanksgiving and how even though we would be spending it in the hospital, we'd be together. I was going to talk about how stuffing is the superior Thanksgiving food and maybe even share a recipe. My mom was bringing a ton of food and we were going to feed all the young and hungry nurses and people waiting for heart transplants delicious, low salt food. OXO, my favorite company in the entire universe (yup, universe. I travel a lot) even sent me a ton of amazing cleaning supplies to clean up the inevitable, massive mess we were going to make in the hospital's patient lounge. Seriously though, I adore this thing and use it everyday. Go buy one. 

The call came at 3 am, Thanksgiving Day. After five long months, it was finally coming. The heart we had all been waiting for.  We hastily packed our bags and all the food we had prepared to make the four hour drive out to the Mayo Clinic. At 10 am, the nurses wheeled my him down to surgery, making an arch out of their arms for him to pass through, as I walked behind, Chariots of Fire blaring out of my phone. That image about sums up my father. 

It's been a long and stressful journey, but we can finally move on to the stages of recovery. And I can't think of a more appropriate time for this to happen than Thanksgiving. Thank you to all of you who have been so supportive through this whole process. We couldn't have done it without you. 


Wednesday, June 12, 2013

Financiers

There re two kinds of bakers in this world: egg white bakers and egg yolk bakers. I am firmly planted in the yolk camp. Most of the time, I am of the opinion that egg white based desserts are too fussy, and I'd much prefer to make pudding or pastry cream than angel food cake. The only good thing about angel food cake is that you can compress a slice into a tiny ball and shove the whole thing in your mouth. 


The point is, I am often left with an overabundance of albumen that I just don't know what to do with. Thankfully, egg whites last a long time and can be frozen if you don't want to use them right away. I usually end up forgetting about them if I do that though...oops...

My buddies at OXO sent me some awesome egg tools around Easter that I hadn't gotten to use until now, since I was out of the country. This egg separator rocks my world. Never again do I have to worry about getting yolks in the whites!

So I have recently taken on a baking project that required NINE egg yolks (Oy vey. Wait a couple weeks and you'll see what I am talking about. What can I do with so many egg whites? Make a healthy omelette, I guess, if you're into that sort of thing. Or combine them with sugar, browned butter and almonds to make financiers. That's more my style.  The name of these little cakes comes from the fact that the traditional molds are rectangular, making them look like gold bars. I used tiny tart pans to make mine extra cute, but honestly, they were kind of a pain to get out of the mold and I kind of wish I had used mini muffin tins instead. Live and learn!


Financiers
from Dorie Greenspan

1 1/2 sticks (6 ounces; 180 grams) unsalted butter
1 cup (200 grams) sugar
1 cup (100 grams) ground almonds
6 large egg whites
2/3 cup (90 grams) all-purpose flour

Put the butter in a small saucepan and bring it to the boil over medium heat, swirling the pan occasionally.  Allow the butter to bubble away until it turns a deep brown, but don't turn your back on the pan - the difference between brown and black is measured in seconds.  Pull the pan from the heat and keep it in a warm place.
Mix the sugar and almonds together in a medium saucepan.  Stir in the egg whites, place the pan over low heat, and, stirring constantly with a wooden spoon, heat the mixture until it is runny, slightly white and hot to the touch, about 2 minutes.  Remove the pan from the heat and stir in the flour, then gradually mix in the melted butter.  Transfer the batter to a bowl, cover with plastic wrap, pressing it against the surface of the batter to create an airtight seal, and chill for at least 1 hour.  (The batter can be kept covered in the refrigerator for up to 3 days.)

Center a rack in the oven and preheat the oven to 400 degrees F (200 degrees C).  Butter 12 rectangular financier molds (these were tested in 3-3/4 x 2 x 5/8-inch [10 x 5 x 1-1/2-cm] rectangular molds that each hold 3 tablespoons), dust the interiors with flour and tap out the excess.  Place the molds on a baking sheet for easy transport. Or use whatever pan you have handy. Just make sure to grease them a lot.
Fill each mold almost to the top with batter.  Slide the molds into the oven and bake for about 13 minutes, or until the financiers are golden, crowned and springy to the touch.  If necessary, run a blunt knife between the cookies and the sides of the pans, then turn the cookies out of their molds and allow them to cool to room temperature right side up on cooling racks.

Wednesday, December 12, 2012

The Great Food Blogger Cookie Swap!

I love when I can use my passions to help other people. So when I caught wind of the Great Food Blogger Cookie Swap, I jumped at the opportunity to bake for a good cause. Food bloggers from all around the word gathered together to partner with Cookies For Kids' Cancer, an organization dedicated to finding new ways to fight pediatric cancer. Here's their mission statement:

Cookies for Kids' Cancer is committed to raising funds to support research for new and improved therapies for pediatric cancer, the leading cause of death by disease for children under the age of 18. Through the concept of local bake sales, Cookies for Kids' Cancer provides the inspiration and support for individuals, communities, and businesses to help fight pediatric cancer. 


Additionally, my beloved OXO promised to match every donation made by the bloggers of the cookie swap, up for $100,000 dollars. I think that's pretty awesome. They gave us some pretty sweet spatulas as well. I am amazed by people's generosity. Whenever I'm feeling generally angsty about humanity, I can just think of things like this cookie swap and feel better. 


For my cookie contribution, I wanted to make something that was sturdy enough to last in the mail but still delicious and not rock-like. These butter toffee cookies are perfect. They've got some substance to them and stack nicely, but still have a delicious chewy center. I hope they were still good upon arrival! 

Overall, the cookie swap was a wonderful experience and I'm so glad I got to take part. If you're interested in hosting your own bake sale or donating, head on over to Cookies for Kids' Cancer's website to get more information. I'm sure it will be appreciated.  '


Butter Toffee Cookies
from Land O' Lakes
makes 3 dozen

1 cup sugar
3/4 cup butter, softened
1 egg
1 teaspoon vanilla
2 cups all-purpose flour
1 1/2 teaspoons baking powder
1/4 teaspoon baking soda
1/2 cup English or almond toffee bits
Sugar for rolling

Heat oven to 350°F. Combine sugar, butter, egg and vanilla in large bowl. Beat at medium speed, scraping bowl often, until creamy. Add flour, baking powder and baking soda; reduce speed to low. Beat until well mixed. Stir in toffee bits by hand.

Shape dough into 1-inch balls. Roll in sugar. Place 2 inches apart onto ungreased cookie sheet. Flatten each with bottom of glass to 1 1/2-inch circles. (If glass sticks, dip glass in sugar.)


Bake for 9 to 11 minutes or until edges are just lightly browned. (Do Not Over Bake.) Sprinkle with sugar while warm. Cool completely.


Monday, April 23, 2012

Giveaway! Focaccia with Tomato, Garlic, and Caramelized Onions

Hey guys, sorry it took me so long to post this, I've been kind of swamped with work lately. But I will never abandon you. So....I was sent a free cooking tool by a company. Does that make me a sellout? I hope not. 


It's one of these guys. A Handheld Mandoline Slicer from OXO! I wouldn't have agreed to review it if I didn't already like OXO's stuff. We've had a potato peeler and tea kettle from them forever, and they're really nice and durable. And I recently acquired a bench scraper, which is also wonderful for chopping. Chopchop. You have to be careful not to cut off your hands. They're all very sharp tools. Except for the tea kettle of course.

This is my lil' buddy who lives on my desk. 

I thought long and hard about what I wanted to use my new, sharp toy for. Caramelized onions sounded like a good idea. But what to do with them? French onion soup was too labor intensive (at least for the time being). So I had a good ol' fashioned facebook poll and had people decide for me! Focaccia it is, then. The mandoline helped sooo much, cutting the onion really thin. It would have taken so much longer for them to caramelize if I had to cut them by hand. Unfortunately, I learned you can't cut a tomato with a mandoline. Too squishy. The focaccia ended up being amazing and flavorful, and I have my nifty little slicer to thank! 

So I would like to share an OXO Mandoline Slicer with you! It's small, slices in three different thicknesses, and can be placed over a pot so the pieces of whatever you're slicing fall right in. Enter my giveaway, please? It's for freee. Just leave a comment on this post and some way for me to contact you. Also, if you like me on facebook, leave a separate comment and I'll give you another entry. Contest closes May 5th. May the odds be ever in your favor!


Tomato, Garlic and Caramelized Onion Focaccia

1 package dry yeast
1 cup warm water
1 Tbsp sugar
2 1/2 cups all-purpose flour
1 tsp kosher salt
1/4 cup plus 1 tbsp  oil, divided
1 large yellow onion, thinly sliced
1 medium tomato, cut into 1/4-inch slices
3 crushed garlic
1/3 cup (packed) finely grated Parmesan cheese
2 Tbsp butter
In a medium bowl, stir together yeast, warm water, and sugar. Let rest until yeast blooms and bubbles form on top, about 10 minutes. Stir in flour, 1/4 cup oil and 1 teaspoon kosher salt. Turn the dough onto a well-floured surface and knead until dough is smooth, 5 to 10 minutes. Place dough in a lightly oiled bowl, cover with a kitchen towel or plastic wrap, and let rest in a warm place until dough doubles in size, about 1 hour.
Preheat oven to 450 degrees F.
Remove dough from bowl and press it into a lightly oiled 9- by 13-inch baking sheet until it touches the edges. Using your finger, poke holes all over the dough. Drizzle the dough with 1 tablespoon olive oil. Let rest until the dough becomes puffy, about 20 minutes.
Heat 2 tablespoons butter in a large skillet set over medium heat. Add onion slices, cover and cook until onion is golden brown, stirring occasionally, about 20 minutes.
Top the dough with tomato slices, caramelized onions, garlic, and Parmesan cheese.
Bake until the focaccia is golden brown, about 20 minutes. Remove from oven and allow to cool on a rack. Cut into pieces and serve.